Wrought Iron Gate Installation: Security and Style That Lasts
By BabyLoveGrowth
You’ve found the perfect Beverly Hills property, invested in quality landscaping, and now you want a wrought iron gate that tells the world this home means business without sacrificing elegance. But between conflicting YouTube tutorials, HOA guidelines, and contractor quotes that vary by thousands of dollars, it’s easy to feel stuck before a single post is set. This guide cuts through the noise with a clear, step-by-step breakdown of wrought iron gate installation, covering everything from permits and post-setting to protective coatings and smart upgrades, so you can make confident decisions and get a gate that performs beautifully for decades.
Table of Contents
- What you need before starting: Tools, permits, and planning
- Laying the foundation: Setting posts for security and durability
- Hanging and aligning your wrought iron gate
- Finishing touches: Coating, safety checks, and smart add-ons
- The expert’s angle: Why the right installation beats quick fixes
- Get your LA gate project started with expert guidance
- Frequently asked questions
Key Takeaways
| Point Details | |
| Preparation is critical | Proper planning, tools, and permits prevent costly mistakes in wrought iron gate installation. |
| Set posts with care | Solid, level posts ensure your gate functions for decades without sagging or security risks. |
| Choose quality finishes | Primed and powder-coated gates stand up to LA’s climate and require minimal maintenance. |
| Expert install pays off | Professional attention delivers superior longevity, security, and curb appeal—worth the investment. |
What you need before starting: Tools, permits, and planning
Before you start digging or assembling, preparation is crucial. Here’s what you need to know.
Skipping the planning phase is the single most expensive mistake LA homeowners make. A gate installed without proper groundwork can sink, bind, or fail to meet code, resulting in costly rework and potential fines. Getting this stage right protects both your investment and your timeline.
Essential tools and materials
You’ll need the following before any installation begins:
- Post hole digger or auger (for setting deep, stable footings)
- Level and measuring tape (accuracy is critical at every stage)
- Concrete mix (high-strength, rated for load-bearing applications)
- Welding equipment or heavy-duty hardware (for attaching hinges and latches)
- Primer and powder coat paint (for long-term corrosion protection)
- Safety gear (gloves, goggles, steel-toed boots)
- Gate hardware kit (hinges, latch, stop bolts rated for your gate’s weight)
Reviewing the smart gate installation steps before purchasing materials helps you avoid buying components that won’t work together on your specific property.
Permits in Los Angeles: What you actually need
In most upscale LA neighborhoods, including those governed by HOAs in areas like Bel Air or Pacific Palisades, you will need a building permit from the Los Angeles Department of Building and Safety before installing any gate or fence above a certain height. In many residential zones, that threshold is 3.5 feet in the front yard and 6 feet on side or rear property lines. Automated gates often trigger additional electrical permit requirements.
Your HOA may also require architectural review board approval before installation begins. Submit detailed drawings, including gate dimensions, material specifications, and finish color, well in advance. This process can take two to four weeks, so factor it into your schedule.
Pro Tip: Call your local LADBS office or check their online portal to confirm permit requirements for your specific zoning district before ordering any materials.
Understanding cost factors for LA fences early also helps you budget accurately for permits, labor, and materials as a combined expense rather than treating them as separate line items.
Selecting the right gate
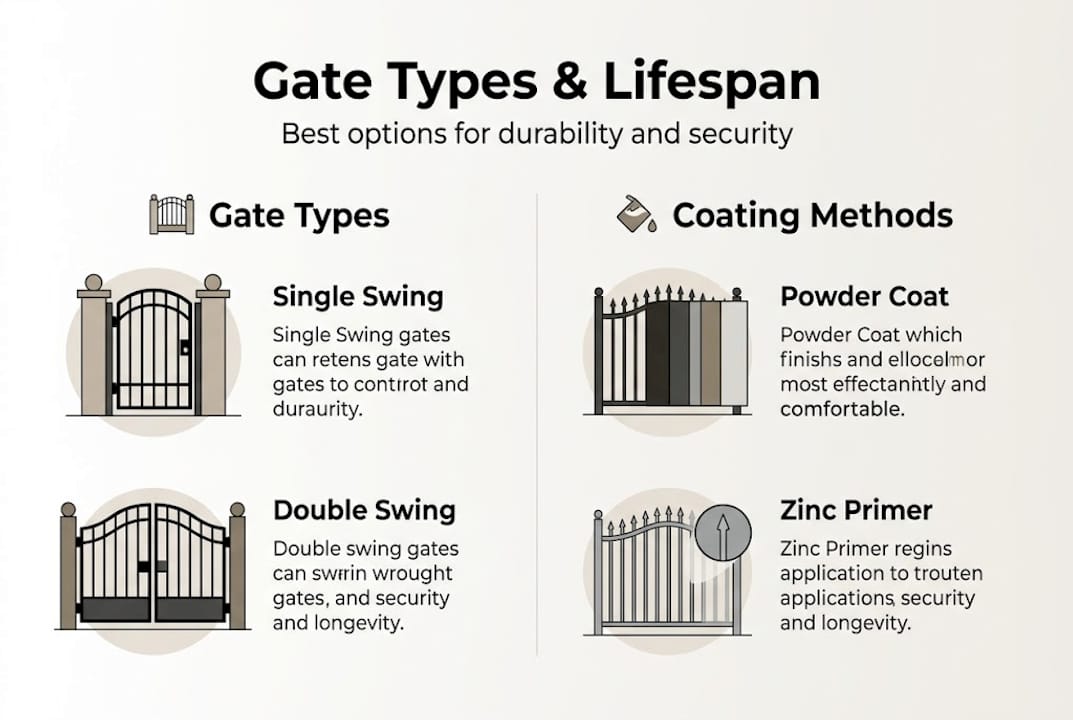
Not all wrought iron gates are equal. Ornamental iron with a proper primer and powder coat finish can last 20 to 30 years, while low-cost DIY kits typically fail within three to five years due to substandard fabrication and finish quality. For a high-value property in Los Angeles, the right gate is one sized correctly for the opening, rated for the expected use frequency, and designed to complement your home’s architectural style.
| Gate type Best use case Avg. material cost | ||
| Single swing | Pedestrian or narrow driveways | $800 to $2,500 |
| Double swing | Wide driveways, grand entrances | $2,000 to $6,000 |
| Sliding/rolling | Sloped driveways, tight swing radius | $2,500 to $8,000 |
| Automated | Primary entry with frequent use | $4,000 to $12,000+ |
Choose fabrication-grade wrought iron over decorative hollow-tube products when security is a priority. Thicker gauge iron, professional welds, and quality hardware all contribute to a gate that holds up in real-world use.
Laying the foundation: Setting posts for security and durability
Once you’ve gathered your materials and set your plan, it’s time to prepare the base.
Post installation is where most DIY gate projects fail. A wrought iron gate can weigh anywhere from 150 to over 600 pounds depending on its size. That weight puts enormous stress on the posts, especially the hinge post, every time the gate opens and closes. Setting posts incorrectly leads to leaning, binding gates, cracked concrete, and premature hardware failure.
Step-by-step post installation
- Mark your post locations using spray paint and stakes, confirming measurements match your gate width plus clearance for hardware.
- Dig post holes to a minimum depth of one-third of the post’s above-ground height, plus six inches for a gravel drainage layer. For a standard 6-foot gate, plan for holes at least 30 inches deep.
- Add a gravel base of approximately six inches in each hole to promote drainage and prevent frost heave (even in LA, soil shifting from seasonal rain is a real concern).
- Set the posts in concrete, using a minimum 3,000 PSI mix. Brace each post plumb with temporary supports while the concrete cures.
- Allow full cure time of at least 48 to 72 hours before attaching any gate hardware. Many installers wait a full seven days for maximum strength.
- Verify alignment with a level on all four sides of each post before the concrete fully sets. Corrections are nearly impossible after cure.
“Professional installation is essential when dealing with heavy wrought iron gates,” as experts consistently note. The structural demands of heavy iron are simply beyond what most DIY footings can reliably handle over time.
Common post-setting mistakes
Pouring concrete that is too thin or too shallow is the most frequent error. Another common mistake is setting posts without checking for underground utilities first. Always call 811 (California’s Dig Safe line) before breaking ground. Underestimating the gate’s weight is also a frequent issue. Always add 20 percent to the manufacturer’s listed gate weight to account for hardware, automation components, and real-world stress loads.
For detailed guidance on regional soil conditions and footing depth requirements specific to Southern California, the post installation essentials resource walks through local considerations that generic installation guides overlook.
Pro Tip: In hillside neighborhoods like Laurel Canyon or Brentwood, soil composition varies dramatically. A soil test or consultation with a geotechnical engineer before post installation can prevent foundation problems and save thousands in repairs.
Post integrity is non-negotiable for high-value homes. A gate that sags or swings out of alignment doesn’t just look poor, it signals a security vulnerability. In upscale LA neighborhoods, that’s a detail your neighbors, guests, and potential future buyers will notice.
Hanging and aligning your wrought iron gate
With the posts firmly set, the next step is to install the gate itself.
Hardware selection at this stage directly determines how well your gate will operate over its lifetime. Using undersized or low-grade hinges to save money is one of the most common compromises that leads to early failure.
Choosing and attaching the right hardware
Hinges for wrought iron gates must be rated to support the gate’s full weight with a safety margin. For gates over 200 pounds, use weld-on ball-bearing hinges rated for at least 300 pounds each. Surface-mounted hinges work for lighter gates but should be avoided on heavier wrought iron panels.
Follow this sequence for hanging the gate:
- Position the gate in the opening with temporary shims to hold it at the correct height and gap clearance (typically 1 to 2 inches from the ground).
- Mark hinge locations on both the gate frame and the post while the gate is held in place.
- Weld or bolt hinges to the gate frame first, then to the post, using a helper or temporary support to hold the gate steady.
- Check swing clearance by opening and closing the gate through its full range of motion before fully tightening all fasteners.
- Install the latch and stop bolt to ensure the gate closes securely and does not swing past the closed position.
Adjusting for terrain and grade
Sloped driveways require additional planning. If your driveway drops away from the gate opening, a standard swing gate may drag or bind on the pavement. Options include raising the gate arc with longer hinge leaves, installing a custom-fabricated gate with an angled bottom rail, or switching to a sliding gate design. Discuss grade issues with your fabricator before ordering, because adjustments after fabrication are costly.
Here’s how professional and DIY approaches compare at this stage:
| Factor DIY installation Professional installation | ||
| Hardware quality | Often standard or rated low | Commercial-grade, load-matched |
| Alignment accuracy | Variable; prone to error | Measured and laser-checked |
| Lifespan outcome | 3 to 5 years before issues | 20 to 30 years with maintenance |
| Terrain adaptability | Limited without experience | Custom-fitted to your property |
| Code compliance | Risk of non-compliance | Installed to LA building code |
Whether you’re installing a pedestrian gate for side yard access or a full driveway gate for your primary entry, proper alignment is the detail that separates a gate that impresses from one that frustrates every single day.
Finishing touches: Coating, safety checks, and smart add-ons
After mounting your gate, a few finishing steps ensure safety, style, and longevity.
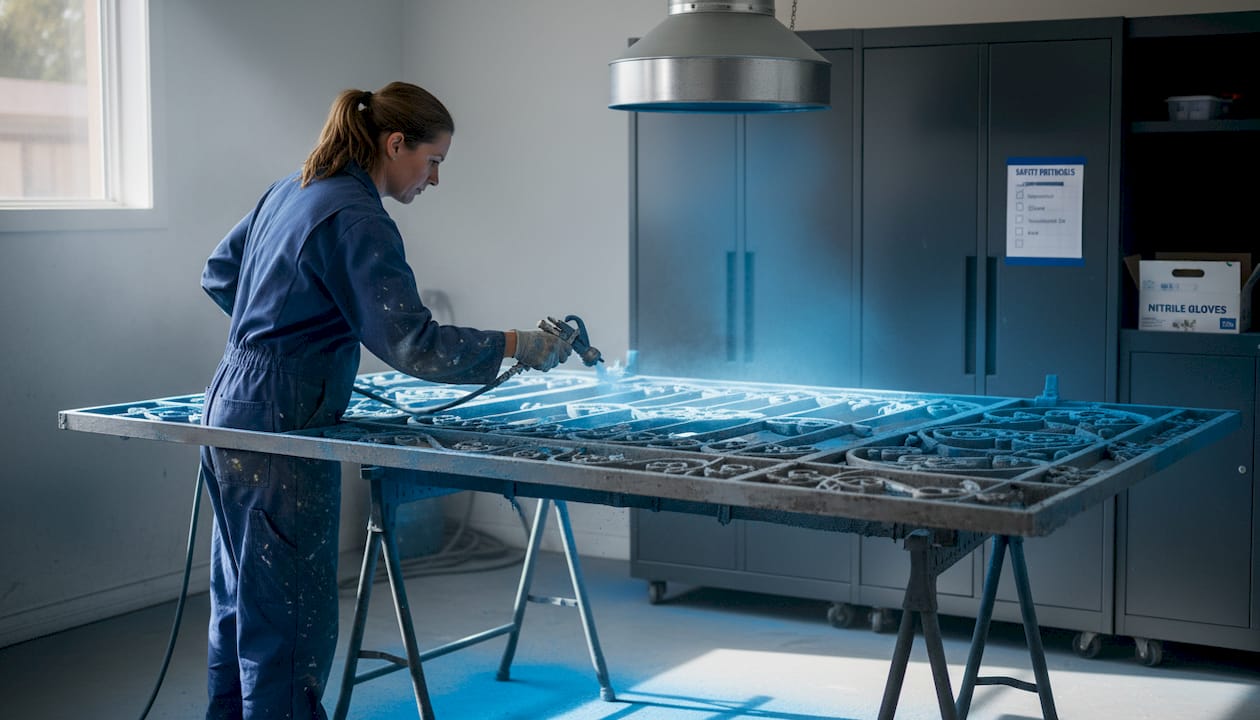
This phase is often rushed, but skipping or cutting corners here can undo all the careful work that came before it. A well-hung gate that corrodes within two years because of poor coating, or one that poses an injury risk due to missing safety stops, represents a failed project regardless of how solid the posts are.
Protective coatings: What actually works
The gold standard for wrought iron gate finishing is a two-stage process: zinc-rich primer applied first for corrosion resistance, followed by powder coat paint for durability and visual appeal. Powder coating is baked onto the metal in a controlled environment, creating a finish that is far harder and more uniform than brush-applied paint.
Gates with powder coat finishes require minimal maintenance and can achieve a service life of up to 30 years, even in coastal LA climates where salt air and UV exposure accelerate surface degradation on lesser finishes. That’s a meaningful difference compared to standard spray paint, which may need reapplication every two to three years.
Safety inspection checklist
Before your gate goes into daily use, verify the following:
- No pinch points between the gate frame and posts at the hinge side
- Gate closes and latches with consistent resistance (not too loose, not requiring force)
- Automation sensors (if applicable) detect obstructions and reverse direction
- Hardware is fully tightened with no play in hinge barrels or latch mechanisms
- Ground clearance is consistent across the full swing arc
- No sharp edges or projecting bolts visible at accessible heights
Smart upgrades worth considering
Modern wrought iron gates can integrate seamlessly with smart home systems. Popular upgrades for upscale LA properties include:
- Keypad entry with custom access codes for regular visitors
- Remote access via smartphone app for real-time open/close control
- Video intercom integration for visual confirmation before granting access
- Loop detectors buried in the driveway surface for automatic vehicle detection
Exploring smart gate automation options gives you a practical breakdown of which technologies are most compatible with wrought iron swing and sliding gate designs, along with what each upgrade typically costs in the LA market.
Statistic to know: Properties with automated, professionally finished entry gates in neighborhoods like Brentwood and Hancock Park consistently command stronger resale interest than comparable homes without gated entries, according to local real estate professionals familiar with buyer priorities in these markets.
The expert’s angle: Why the right installation beats quick fixes
We’ve seen a consistent pattern across hundreds of LA gate installations: the homeowners who regret their gate projects are almost always the ones who compromised on one key step, whether that was the post depth, the hardware grade, or the coating quality. Those small savings rarely hold up beyond the first few years.
Wrought iron gates installed with proper technique and professional-grade materials last 20 to 30 years, while shortcut approaches introduce failure points that surface precisely when you need your security infrastructure to perform. A gate that sags or binds after 18 months is not a minor inconvenience. It’s a safety gap, an eyesore, and a repair bill that often exceeds what proper installation would have cost in the first place.
For high-value properties in Los Angeles, the gate is a first impression and a security statement. Getting the professional gate installation process right from day one protects not just your gate, but your property’s long-term value and your peace of mind.
Get your LA gate project started with expert guidance
Ready to move from planning to action? Let local pros help you avoid headaches and boost property value.
Knowing the steps is one thing. Executing them on your specific Los Angeles property, with its unique terrain, HOA requirements, and neighborhood aesthetic, is where local expertise makes the difference.
Use our installation cost calculator to get an immediate, transparent estimate based on your property’s gate width, design preferences, and automation needs. From there, our network of LA-licensed installers can handle the permits, fabrication, and installation so every step meets code and exceeds expectations. Whether you need driveway gate installation services for a primary entry or custom gated fencing for your full property perimeter, we deliver results built to last in Los Angeles.
Frequently asked questions
What’s the biggest mistake homeowners make when installing wrought iron gates?
The top mistake is failing to properly set and align posts, which leads to gate sag, binding, and security gaps within just a few years. Professional installation is specifically recommended for heavy iron gates because post integrity directly determines long-term performance.
How long does a properly installed iron gate last in Los Angeles?
With quality primer and powder coating, a wrought iron gate can last 20 to 30 years in LA’s climate, even in coastal areas with salt air and intense UV exposure.
Should I choose DIY installation or hire a professional?
DIY kits may appear cost-effective at first, but they commonly fail within three to five years. Expert installation maximizes gate lifespan, ensures code compliance, and protects your home’s resale value in competitive LA neighborhoods.
What permits do I need for a wrought iron gate in Los Angeles?
You typically need a building permit from LADBS and HOA architectural review approval when installing exterior gates in most upscale LA neighborhoods, with additional electrical permits required for automated gate systems.