How to Upgrade an Existing Gate to Automated
By BabyLoveGrowth
Upgrading an existing gate to an automated system is achievable for most homeowners when the gate is structurally sound and power access is feasible. Gate automation, the industry term for retrofitting a manual gate with an electric operator, motor, and control system, delivers real security and convenience gains without requiring a full gate replacement. Retrofit costs range from $400 for basic kits to over $5,500 depending on gate condition, power access, and safety features. The 2026 UL 325 safety standards govern every new installation, so knowing how to upgrade existing gate to automated systems correctly protects you from liability and failed inspections. This guide covers every step, from assessing your gate to passing final inspection in Los Angeles.
How to upgrade your existing gate to automated: start with a suitability check
Not every gate is a good candidate for automation. Automation success depends on gate structural integrity, movement quality, and power availability before a single motor is ordered. Skipping this step is the most common and costly mistake homeowners make.
Check these factors before purchasing any equipment:
- Structural integrity: Push and pull the gate manually. It should move without excessive force, with no sagging, rust, or warping. Motor burnout frequently occurs when a gate requires excessive manual force to move. A gate that fights you by hand will destroy an electric motor within months.
- Gate type and clearance: Swing gates need clear arc space on both sides. Sliding gates need a straight, level track with enough room for the gate to retract fully. Measure both before selecting a system.
- Posts and hinges: Automation adds dynamic load to every hinge and post. Retrofitting often requires structural reinforcement of posts and hinges to handle that load safely. Weak posts will shift under repeated motor cycles, voiding warranties and creating safety hazards.
- Power access: Standard electric operators need a 120V outlet within reach of the motor location. If no outlet exists, electrical trenching costs $3–$8 per linear foot, and electricians charge $60–$120 per hour. Solar power kits are a practical alternative for gates far from the house, particularly in sun-rich Los Angeles neighborhoods like Encino and Brentwood.
Pro Tip: Schedule a professional site survey for your gate before buying any components. Installers catch hidden issues like unlevel ground, post lean, and hidden rust that homeowners routinely miss. This single step often saves hundreds in wasted equipment costs.
What automation system and components does your gate need?
The right automation system depends on your gate type, weight, and how often it opens daily. Choosing the wrong motor is the single biggest technical mistake in a retrofit project.
Motor types by gate style:
- Swing gate operators use articulated arm or underground linear actuators. Articulated arms mount to the post and gate face; underground actuators hide below grade for a cleaner look, popular in Beverly Hills and Bel Air properties.
- Sliding gate operators use a rack-and-pinion drive system. The motor mounts to a post and drives a gear along a toothed rack welded or bolted to the gate bottom.
Undersized motors are the leading cause of premature automation failure. Motor capacity must match gate weight and daily cycle frequency. A heavy wrought iron gate on a busy driveway in Pasadena needs a commercial-duty motor, not a residential-grade unit rated for 20 cycles per day.
Essential safety features every system must include:
- Photo-eye sensors that stop and reverse the gate when a beam is broken
- Auto-reverse function triggered by obstruction contact
- Manual release mechanism for power outages
- Monitored entrapment protection, required under UL 325
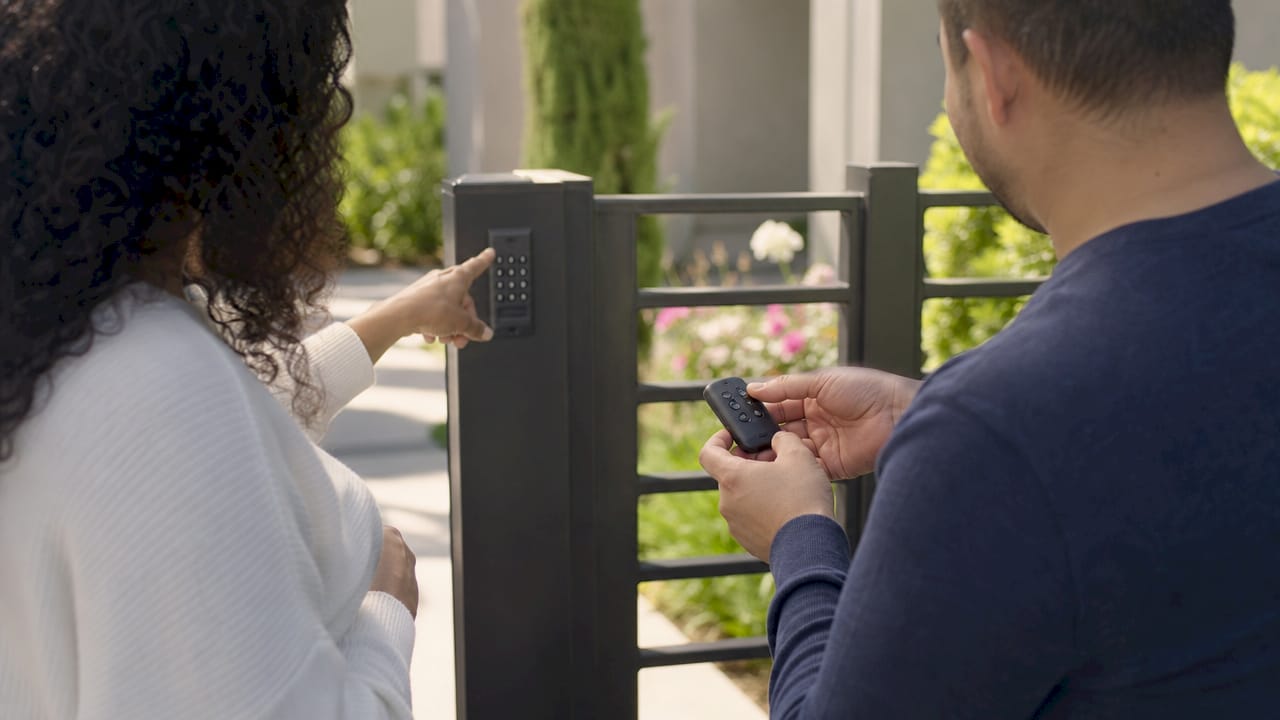
Control options range from basic radio remotes to keypads, intercom systems, and smartphone-integrated access control. For Los Angeles properties with smart home setups, Wi-Fi-enabled operators connect directly to platforms like Apple HomeKit or Google Home. Backup battery systems keep the gate operational during outages, which matters during the Santa Ana wind events that knock out power across the San Fernando Valley.
Pro Tip: Always size your motor one capacity tier above your gate’s current weight. Gates accumulate paint, hardware, and minor repairs over time. A motor with headroom handles that added weight without strain.
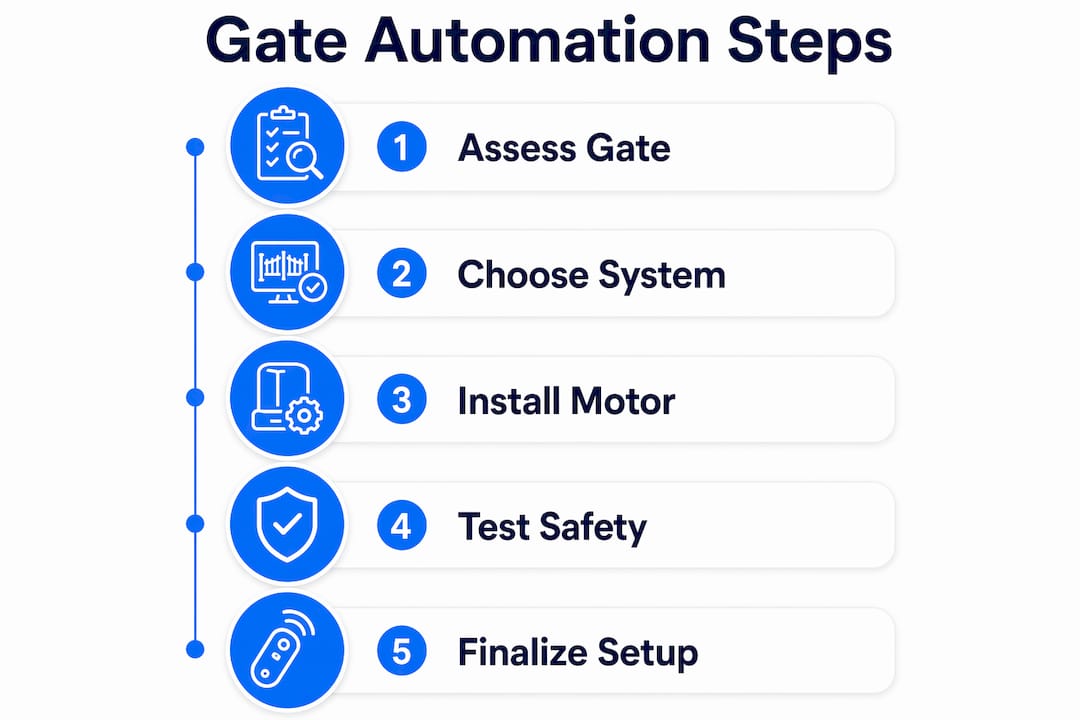
Step-by-step installation process for a gate automation retrofit
A professional gate automation retrofit follows a clear sequence. Understanding each phase helps you manage the project, ask the right questions, and verify the work is done correctly.
- Site survey and measurement. The installer measures gate width, height, and weight. They assess post condition, hinge placement, and available power sources. This step determines the exact motor model, arm length, and wiring route.
- Structural reinforcement. Weak hinges get replaced with heavy-duty weld-on versions. Posts that lean or show concrete base cracking get reset or reinforced with concrete collars. Proper reinforcement is essential for safety and warranty coverage. Skipping this step voids most manufacturer warranties within the first year.
- Motor and control arm installation. The operator mounts to the post at the correct height and angle. Control arms connect the motor to the gate leaf. Alignment is critical: a misaligned arm creates binding that burns out the motor under load.
- Electrical wiring or solar kit installation. For hardwired systems, the electrician runs conduit from the panel to the operator location. For solar systems, the installer mounts the panel at the correct angle for maximum sun exposure. Los Angeles averages over 280 sunny days per year, making solar a genuinely reliable option for most properties.
- Safety sensor and control device integration. Photo-eye sensors mount on both sides of the gate opening at bumper height. The installer wires them to the operator’s safety circuit. Keypads, intercoms, and remote receivers mount at the correct height per ADA guidelines when required.
- Limit programming and safety testing. The installer programs open and close travel limits so the gate stops precisely at each position. The auto-reverse force setting gets tested with a 1-inch obstruction placed in the gate’s path. The gate must reverse immediately on contact.
Common installation challenges:
- Unlevel ground causing the gate to bind mid-travel
- Insufficient post depth requiring concrete base work
- Existing wiring that does not meet current code
Pro Tip: Ask your installer to demonstrate the manual release before they leave. Every adult in your household should know how to open the gate by hand during a power outage. This is a safety requirement, not an optional feature.
Does your gate automation upgrade meet 2026 safety standards?
Compliance with current safety codes is not optional. When replacing or modifying gate operators, compliance with 2026 UL 325 standards is mandatory, affecting both the scope of work and the final cost. UL 325 governs residential and commercial gate operators sold and installed in the United States.
Key requirements under UL 325 and ASTM F2200:
- Minimum of two independent entrapment protection devices per gate
- Monitored photo-eye sensors with fault detection
- Auto-reverse on contact with a defined maximum force threshold
- Visible warning labels on the operator and gate structure
- Manual release accessible from both sides of the gate
DIY automation attempts often fail safety compliance because UL 325 requires monitored entrapment protection with at least two activation devices. Most off-the-shelf kits sold at home improvement stores do not include compliant sensor pairs, and homeowners rarely wire them correctly without training.
Older gate systems without modern safety sensors carry real liability risk. If a non-compliant gate injures a person or pet, the property owner bears legal responsibility regardless of whether a professional or the homeowner installed the system. Upgrading to a UL 325-compliant system is the only way to eliminate that exposure.
In Los Angeles, most gate automation projects require a building permit. The City of Los Angeles Department of Building and Safety reviews plans and schedules inspections for automated gate installations. Local permitting and HOA guidelines in Los Angeles directly affect gate automation upgrades, and non-compliance leads to stop-work orders and fines. Properties in HOA-governed communities in areas like Studio City or Sherman Oaks also need written HOA approval before work begins. Submit your permit application and HOA request simultaneously to avoid delays.
Key Takeaways
Automating an existing gate requires a structural assessment, correctly sized motor, UL 325-compliant safety devices, and a valid Los Angeles building permit before the system goes live.
| Point Details | |
| Assess gate condition first | A gate that requires excessive force to move manually will burn out any electric motor quickly. |
| Match motor to gate weight | Size your motor one tier above current gate weight to handle future hardware additions. |
| Reinforce posts and hinges | Dynamic motor loads require heavy-duty hinges and solid post bases to maintain safety and warranty coverage. |
| Meet 2026 UL 325 requirements | Every retrofit must include two independent entrapment protection devices and monitored photo-eye sensors. |
| Pull a permit in Los Angeles | The City of Los Angeles requires a building permit for gate automation; HOA approval runs parallel to that process. |
What I’ve learned after seeing hundreds of gate retrofits go wrong
The most common misconception I encounter is that gate automation is just bolting a motor onto an existing gate. Homeowners see a kit at a home improvement store, watch a 10-minute video, and assume the job is done in an afternoon. The reality is that the gate itself is usually the problem, not the motor.
I’ve seen brand-new operators fail within 60 days because the gate had a slight warp that created binding mid-travel. If the gate structure is near end of life, investing in a high-end motor is wasteful. The honest answer in those cases is a full gate replacement, not a retrofit. A professional assessment tells you which path makes financial sense before you spend a dollar on equipment.
The other issue I see constantly is motor undersizing. A homeowner picks the cheapest operator that fits the gate width, ignoring weight and cycle ratings entirely. Professional motor sizing reduces long-term maintenance and replacement costs in a way that the upfront savings on a cheaper unit never recover. Spend the money on the right motor once, or spend more replacing the wrong one twice.
Safety compliance is where DIY projects create the most serious risk. A gate that injures someone because it lacks proper entrapment protection is a liability that no homeowner wants. Professional installation with UL 325-compliant components is not a premium option. It is the baseline for any responsible upgrade.
— Moin
Plan your gate automation upgrade with Fence-gate-estimator
Budgeting a gate automation project in Los Angeles requires local pricing data, permit cost estimates, and knowledge of what your specific gate type and property layout will require.
Fence-gate-estimator provides instant, accurate cost estimates for gate automation upgrades across Los Angeles, including Beverly Hills, Santa Monica, Pasadena, and Glendale. The platform uses current local labor and material rates to generate a detailed cost breakdown based on your gate type, dimensions, and power access situation. For homeowners weighing retrofit versus replacement, the driveway gate pricing tool shows side-by-side cost scenarios so you can make a clear decision. Every estimate includes permit cost guidance and professional installation options backed by warranty coverage.